Sunday, November 28, 2010

Torn paper car picture

Time for a drive in the country with your
family!


These were kind of groovy.  Very easy torn paper car shapes and a couple of circles torn out, maybe a headlight or exhaust and done!
My daughter enjoyed adding some people to her car picture.  Very Cute.

Car shape torn out below


When it's all put together.


Christmas Craft - Torn paper trees and presents

This present picture is just two pieces of A4 coloured card, one A5 piece, some ribbon and scatters.  Tear around one A4 pieces edge and around that of the A5. Glue them one on top of each other (see above).  Then glue on the ribbon and scatters and there you have your christmas present artwork.


The christmas tree is similar to above using just two pieces of A4 coloured card, one A5 piece and then a smaller piece for the tree trunk.  This time we used buttons for the baubles but scatters would be ok too.  We used a fiskars star punch to cut out the tree star.  Easy for my 5 year old to do.

Saturday, November 13, 2010

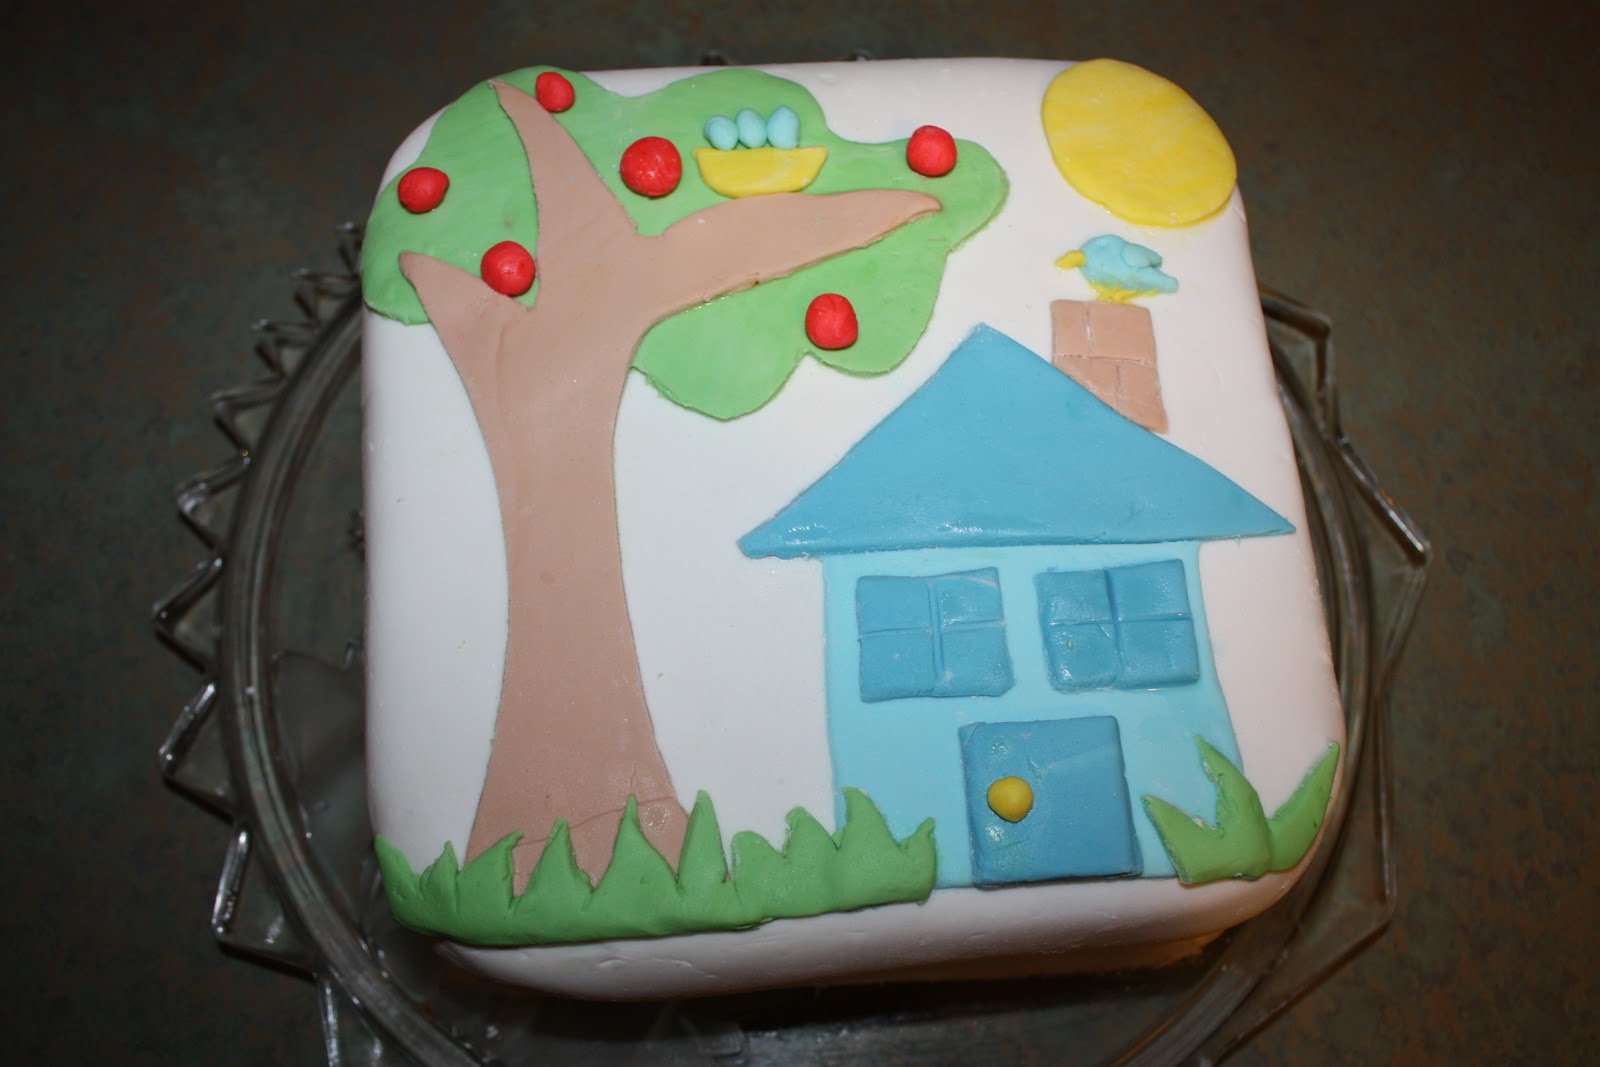
More Birthday Cakes

It's been a while since my last blog but life has gotten away from me lately.  I've had weddings and birthday's to keep me entertained and even though my kids have done craft I haven't had a chance to take photo's of it!  Anyway I know that this is off track a bit but I thought I'd take a couple of photo's of my daughters birthday cakes (yes I know....mad!  One for the morning with the kids and one for the afternoon with family).  I'm not a professional by any stretch of the imagination but as she is only 5 I don't think she is going to hold it against me!


Wednesday, September 29, 2010

Dragonflies

3 Different Dragonflies

These different dragonflies were very easy to make and really the materials you could use are endless.  Here I've provided 3 different types with some doubling up of materials.  I think the look quite effective!


Card stock Dragonfly
 Materials required:
  • A few different colours or types of card/paper (we used 4 different types)
  • Glue
  • Scissors
  • Fiskars large and medium circle squeeze punches (if you have them.....)
  • Fiskars medium rectangle squeeze punch
  • 2 googly eyes
Method:
  • Cut out 4 oval wing shapes
  • Cut out 2 round medium sized eyes
  • Cut out 1 large round shape for the head
  • Cut out 2 Oval shapes for the body (one slightly bigger than the other)
  • Cut out approx 5 small rectangles for the tail
First Glue the wings onto the paper.  The head and eye's come next followed by the large oval body shape and then the smaller stuck on top.  Lastly glue on the rectangle shapes for the tail and you are done!!

Pompom and Button Dragonfly

Materials required:

  • Glue
  • Buttons (approx. 2 large and a variety of smaller ones.....roughly 8)
  • Pompoms
  • Card stock /paper
  • Scissors
 Method
  1. Cut out a circle shape for the head
  2. Cut out 4 oval shapes for the wings
  3. Glue the centre of the wings on the paper (slightly fold up either side of the centre so that the wings are not glued to the paper but slightly elevated)
  4. Glue the circle shape above the head and add a couple of buttons for the eye's (smaller ones can be used too for the middle of the eye's)
  5. We used 3 pompoms for the body (glue these on now) but ther may be more or less depending on the size of the wings and the pompoms.
 
Finish off by gluing some smaller buttons below the body to form the tail.

Clothespin / Peg and button Dragonfly

Materials required:
  • Clothespin (I broke off one of the leg's to form more of a dragonfly shape)
  • Buttons (1 x large for head, 2 eye's, 1 long one for the body or a few smaller ones and approx 5 for the tail)
  • Glue
  • Scissors
  • Card stock (cut into 4 oval wing shapes)


Method: 
  1. Glue the 4 oval wing shapes onto the back of the clothespin
  2. Glue on the 2 smaller buttons to the larger button to form the eye's on the head 
  3. Glue the head on the clothespin
  4. Glue on a couple of medium size buttons to make the body or one long oval one.
  5. Finally add approx. 5 button's onto the 1 remaining leg to for the tail

And there you are done!

There, 3 easy dragonflies to make!


Sunday, September 12, 2010

Cardboard / Papier Mache Glittery box

Verry simple craft that requires little assistance but gives your child a great deal of satisfaction.
This was just a cardboard / papier mache store bought box.
Marli painted it, let it dry and then applied glue to the areas she wanted to glitter.
Very simple and lovely and glittery!  Perfect for it's intended purpose
of storing her favourite jewellery!

Wednesday, September 8, 2010

Seashell / Sea Shell creatures craft

These Sea Shell Creatures are easy to make.  You just need a little imagination, a hot glue gun, googly eyes and shells!
We created a fairy, angel, crab and hmmmm a little creature of some kind.
The angel also got some hair but really the sky is the limit.  Best to wash the shells after collection and dry them before use then just go wild with the glue!!!

Monday, September 6, 2010

Clothes peg or Clothes Pin Flower Fairy

I was watching a program on the weekend that had an author featured.  This author also had twins and like me had to sit in their room at night to get them to go to sleep.  She would read fantasy whilst in there.......and what do I do? Blog of course!
I hope you enjoy our flower fairies.
We got some inspirations from http://www.youtube.com/watch?v=APGC7pdgPwo

A variety of fairies you can make!
Most materials required with the exception of a pipe cleaner, pom poms, some beads and some buttons.  We also used hot glue as it was easier but you could use either.  You only really need it to glue on hair and head wear.
Step 1:  Pull apart your pretend flowers separating the petals.
Step 2:  Enlarge the hole in the petal where the stem went through.
Step 3:  Choose a few petals to make your fairy skirt and then slide them over the top of your clothes peg.
Step 4:  Wrap a pipe cleaner around it's middle leaving 2 length's either side to use for arms.
Step 5:  Add some beads to the pipe-cleaners to give them a bit more interest
Step 6:  Finish the top of her dress with more petals and add any extra flourishes that take your fancy.
Step 7:  Add some hair.


Step 8:  Add a face
Step 9:  Add a head piece.  In this one I used some buttons to make a bit of a hat crown.  Others we have used more petals (the smaller inner ones) the sky's the limit really.
Step 10:  Wings go on next.  You can use leaves, petals, wired Ribbon, butterflies etc.  On this one leaves and a bit of white foliage was used.
Step 11:  Stick on some shoes if you want.  We just added some very small pompoms to the feet to look a bit like shoes.
And there you have it the finished product.  A cute Fairy!