Sunday, May 8, 2011

Mothers day cards with fake flower petals and patty pans

Mothers day 2011


.
Pulled apart fake flowers with patty pan centres and glitter added. Icy Pole stick used for stems and leaves were from pulled apart fake flowers.


Another version of description above. Recycled using cut up old box. This enabled the cards to stand on their own.

Slightly different centres. Some foam flower shapes. A stickers, paper letters and hearts.


Photo's are always a great thing to add to any card. So personal.

My daughter finished hers off by writing a greeting inside.  Beautiful job guys. xx

Sunday, April 10, 2011

Easter Cards

I think Easter Cards are a lovely thing to be presented with at Easter.  I love my kids putting their personal touches on things and they can really do whatever they want with cards.  For this activity though we decided to use "Food Colour" for painting to make our eggs: 

(see earlier post "Food colour painting" http://kidslovecraft.blogspot.com/2011/03/crayon-oil-pastels-and-food-colour.html)

What you will need:
  • Cardstock / Coloured Card
  • White paper
  • Food Colour mixed with a little water
  • Paint Brushes
  • Embelishments / glitter / ribbon etc
  • Scissors / ruler
Method:
  1. Put paint all over the paper randomly.  Wait to dry and then cut into egg shapes.
  2. Fold a sheet of coloured paper in half.
  3. Tear around the edges of another piece of coloured card so that it fits within the dimensions of the front of the card.  (use a ruler to use as a tearing guide or use scissors if you wish)
  4. Add your egg shapes where you wish.
  5. Stick on your embelishments / glitter / ribbon etc.
Easy pain free activity the kids and card receiver will love.  Here are some different examples:

Terracotta Pot LollIpop Easter Egg Baskets

These will make great gifts for easter and thanks to http://familyfun.go.com/crafts/flower-basket-661378/ for the idea.


What you will need:
Method:
  1. Paint the terracotta pot
  2. Cover the stem of lollipop in green tissue paper (or green ribbon or equivalent)
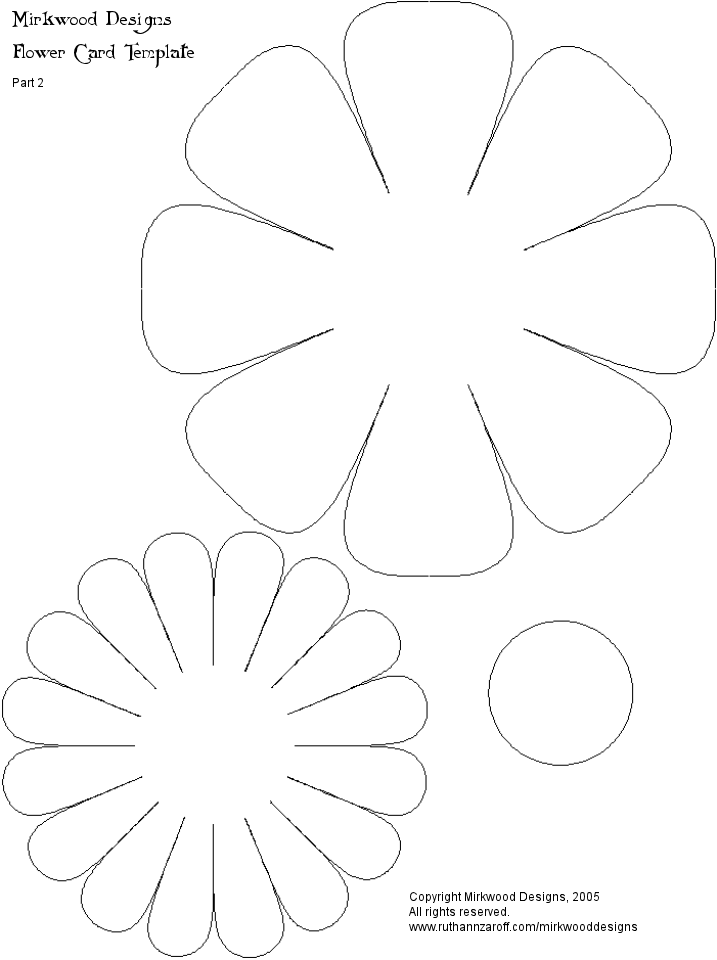
  3. Enlarge the flower template so that it is bigger than the head of the lollipop and then cut it out.
  4. Tape or Glue the Flower onto the head of the lollipop.  You can add another flower or circle to the inside of the lollipop if you feel the lollipop itself isn't enough.
  5. Cut out one or 2 leaves out of green paper and add a message for the person it was made.  When finished Sticky tape it onto the covered stem.
  6. Finish decorating the dried pot with some decorations of your choosing.  We used flower cut outs.
  7. Add some tissue paper of your colour choice to the pot and then half fill with pebbles so that the lollipop is stable.
  8. Finish off by filling the remainder of the pot with small easter eggs. 
A lovely gift to give a loved one this easter. xx


The pot above had an accident and had to be reglued with PVA.  To reinforce it further I covered the whole thing in red tissue paper.  There was lots of tears about the broken pot so we needed a quick fix.  Turned out ok all things considered.  Maybe I should have been a recontructive surgeon.....NOT!

Easter Egg Baskets

These baskets are so effective and it was a joy to make them actually. 


Materials needed:
  • Square sheet of cardstock (I cut mine down to 27cm x 27cm)
  • Ruler
  • Glue
  • Sticky tape
  • Scissors or a guillotine
  • Stickers / items to glue on
  • Shredded paper
Method:

There are a couple of really good sites that will show you how to do these see one link below:


Each square equated to 9cm by 9cm.  I basically divied up the 27 x 27 cm sheet into 9 equal squares.  It shows which lines needed to be cut on the S.E.I website.  See their pic below. 


Very easy once scored and cut to bring it all together.....

These are a couple we made that we filled with shredded paper after decorating with stickers.  Each child had letter stickers to add their names to their baskets.


I think the kids will find them perfect for collecting those eggs during their easter egg hunt!!!


Wednesday, March 9, 2011

Paper bag scarecrows

These were a great little project.

Materials:
  • Coloured paper
  • Ribbon
  • Googly Eyes
  • Marker texta
  • Icy Pole Sticks
  • Glue
  • Newspaper
  • Foam Flowers (optional)
  • Brown paper bags
  • Sticky tape
Method:
  1. Fill a paperbag with newspaper.  Insert a Icy pole stick into the bottom of the filled bag sealing the end with tape or Glue. 
  2. Cut out a Nose (triangle works well), add some googly eyes, a couple of circles for cheeks and some shaggy hair. 
  3. Cut out any hat shape you fancy, add some criss cross pattern if you wish.  A foam or paper flower looks good too.
  4. Finally draw on a mouth and add a ribon around the base of the head and you are all done.

Crayon / Oil Pastels and Food Colour Paintings

Now these were fun but may I suggest the organiser of the food colour wear gloves!!!

All you need is:
  • Food colour (various colours)
  • White paper (we used cartrige paper)
  • Brushes
  • Water
  • Oil Pastels
  • Paint pallette or similar
  • Disposable gloves
  • Something to cover the surface you are using
Method:

  1. Draw a picture / shape etc on the piece of paper with Crayon or Oil Pastels
  2. Prepare your food colour (put on gloves) We just added a couple of drops to the pallette and a little water to the food colour.  You could use it straight but I preferred to mix a bit a water into it.  Feel free to mix the colours together to get any colour you prefer.
  3. Now let them use a paint brush (one for each colour) and cover their work in different colours. 
  4. Let them dry!
I think, as you can see from below, they turn out fabulous :)


Crowns

Very easy craft for the little ones this.

Materials:
  • A3 coloured paper/card
  • Stickers
  • Glitter
  • Sticky tape
  • Glue
  • Bits of pieces of anything really (paper, gems, scatters etc)
Method:

Fold card length wise down the centre.  Draw the shape to cut out along the folded line on one of the sides (eg: Zig Zag) and then cut it out.  Make sure there is a wide strip along the bottom that will go around the head.  Join the 2 pieces together.

Now it's all up to the decorators and the decorations......


Once decorations are complete take the crown and fit it around your child's head.  Use sticktytape to secure it together.  You can cut off some of the top of the crown so that just the strip is left when you join it together.  That way you don't have to match the zig zag etc exactly.

And there you are.....done!