 |
| I had to share these as they looked so beautifu! Food Colour painted flowers. The only instruction was to extend the flower as close to the edge of the page as possible and this was what they came up with. Sharpie marker texta's were used for the outline. Gorgeous!! |

Showing posts with label paints. Show all posts
Showing posts with label paints. Show all posts
Monday, May 30, 2011
Food colour painted flowers
Sunday, April 10, 2011
Terracotta Pot LollIpop Easter Egg Baskets
These will make great gifts for easter and thanks to http://familyfun.go.com/crafts/flower-basket-661378/ for the idea.

What you will need:


What you will need:
- Terracotta pot
- Card stock / Coloured paper
- Template of a flower (I got mine here... http://www.ruthannzaroff.com/mirkwooddesigns/images/flowercard1.gif http://www.ruthannzaroff.com/mirkwooddesigns/images/flowercard2.gif
- Scissors
- Stickytape
- Glue
- Tissue paper
- Paint
- Brushes
- Stickers / Flowers or items to glue on
- Lollipop
- Easter Eggs
- Pebbles (something to hold up the lollipop)
- Paint the terracotta pot
- Cover the stem of lollipop in green tissue paper (or green ribbon or equivalent)
- Enlarge the flower template so that it is bigger than the head of the lollipop and then cut it out.
- Tape or Glue the Flower onto the head of the lollipop. You can add another flower or circle to the inside of the lollipop if you feel the lollipop itself isn't enough.
- Cut out one or 2 leaves out of green paper and add a message for the person it was made. When finished Sticky tape it onto the covered stem.
- Finish decorating the dried pot with some decorations of your choosing. We used flower cut outs.
- Add some tissue paper of your colour choice to the pot and then half fill with pebbles so that the lollipop is stable.
- Finish off by filling the remainder of the pot with small easter eggs.


The pot above had an accident and had to be reglued with PVA. To reinforce it further I covered the whole thing in red tissue paper. There was lots of tears about the broken pot so we needed a quick fix. Turned out ok all things considered. Maybe I should have been a recontructive surgeon.....NOT!
Wednesday, March 9, 2011
Crayon / Oil Pastels and Food Colour Paintings
Now these were fun but may I suggest the organiser of the food colour wear gloves!!!
All you need is:


All you need is:
- Food colour (various colours)
- White paper (we used cartrige paper)
- Brushes
- Water
- Oil Pastels
- Paint pallette or similar
- Disposable gloves
- Something to cover the surface you are using
- Draw a picture / shape etc on the piece of paper with Crayon or Oil Pastels
- Prepare your food colour (put on gloves) We just added a couple of drops to the pallette and a little water to the food colour. You could use it straight but I preferred to mix a bit a water into it. Feel free to mix the colours together to get any colour you prefer.
- Now let them use a paint brush (one for each colour) and cover their work in different colours.
- Let them dry!


Saturday, January 15, 2011
Lion Mask activity with add on nose and rolled mane
 |
| Step 1: Paint the paper plate with a lion type colour |
 |
| Step 2: Print off this Tigers/Lions nose (you can download it also from (http://www.abckid.com.au/images/uploads/arts-and-crafts/Tiger_Mask.pdf) and then cover in the paint colour of your choice. |
 |
| Step 3: Cut some strips of paper to use as a mane. We chose orange, brown and yellow. |
 |
| Step 4: Pre roll the strips of paper to make the mane curly (although you could do this once the mane was glued on) |
 |
| Step 4: Assemble the mask. Glue the curled paper strips around the edge of the painted plate. Glue on the nose that was painted and cut out (fold over the tabs and glue them down somewhere in the middle of the plate). Use a few pipe cleaners to make a mouth and whiskers. Cut out some eyes and stick on a icypole stick (or similar) to the back of the plate (we joined 3 together). |
 |
| And here are my 2 and a half year old boys with their completed masks. Now they can really roar like a lion.....their favourite pass time! |
Indian Elephant Craft
For this gorgeous little elephant you firstly need to grab a copy of the template from the link below. This we sketched onto a larger piece of paper (we used A3) and then my daughter painted it and cut it out and glued on the ear which has a separate template on the same page.

A doily painted another colour and a few scatters glued on made a great rug for the back of the elephant.

More of the doily (a small section was cut out of the original piece) was painted another colour and decorated again with some scatters.
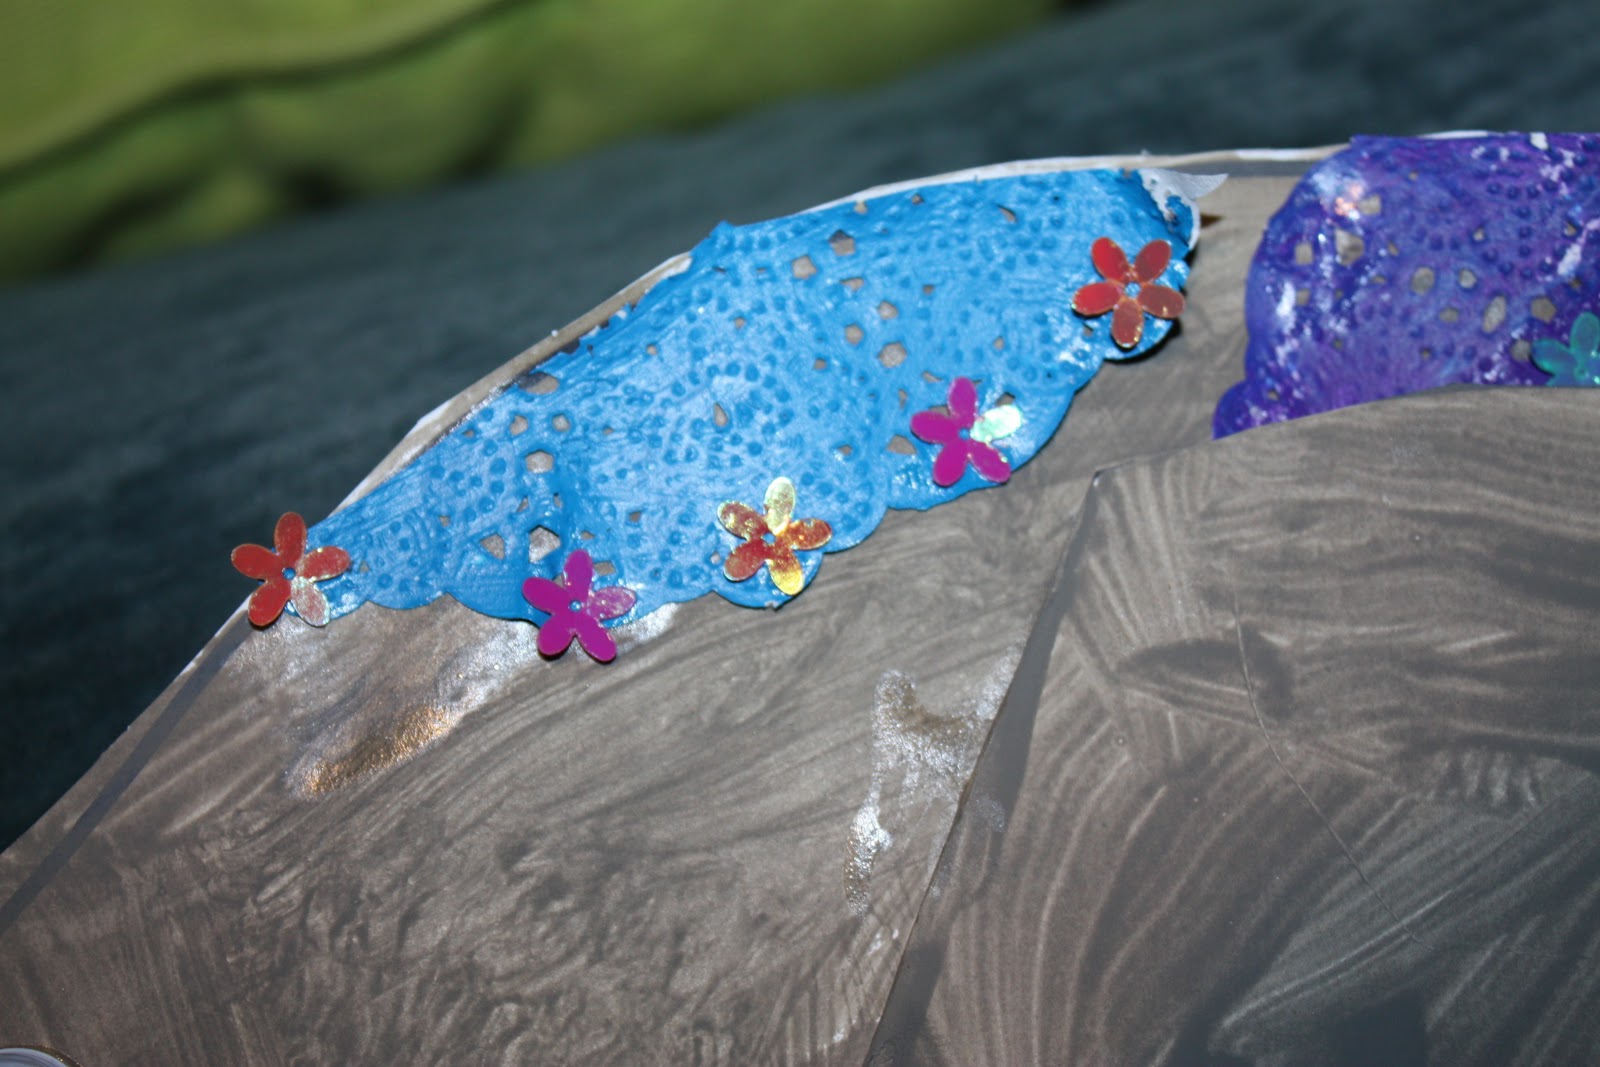
Some sticky dots stuck on each of the feet made great toenails. We used silver which looked good. Add a googly eye or similar.

And last but not least some wool finished it off creating a tail. A bit of fun.

Monday, June 28, 2010
Hand printing sea life

This can be easily created by using your child's hand prints. A sideways print creates a fish, up and down and it's an octopus. Add some eyes, suckers and mouths and you are done. We prepainted the background with blue wavy lines and added some green wavy lines (done with fingers) for seaweed. We also added a black paper frame so that we can make it a work of art to be hung in her gallery!
Tuesday, May 18, 2010
Fabric paints rainbow hands
Rainbow Day at Kinder. Fabric paints were used to create hand prints and rainbow (not pictured). Washed well, easy to use and loads of fun.

Subscribe to:
Posts (Atom)